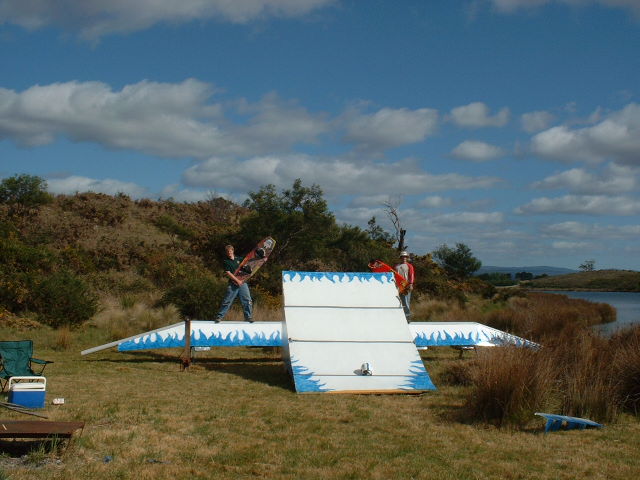
It is a nice long rainbow that comes apart in the middle so it can be transported.
Now We Built This Slider A little while ago and it's really a lot of fun. We are in the process of writing up plans as to exactly how we built it but we have a lot of photos now so while we write up some plans and diagrams you can have a browse through the Photos :) (please note that some of the photos are of one half of the slider and some are of the other this may get confusing because we built things in different stages on each half so one might have the pipes on but no legs and vice versa so just ignore that and you will be fine)
This is the earliest production photo we have it has skipped a lot but we will outline all that in the diagrams
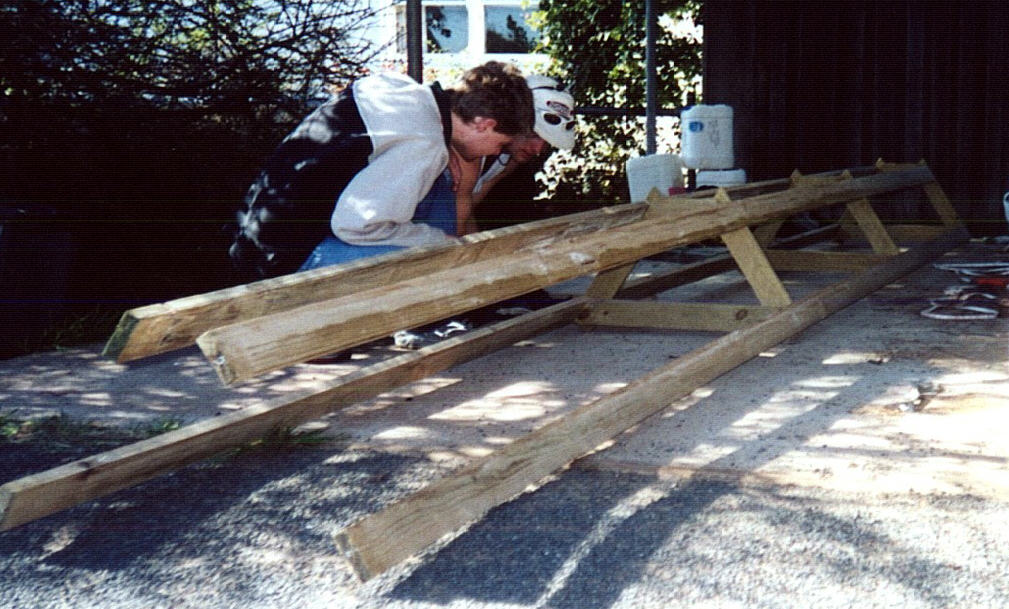
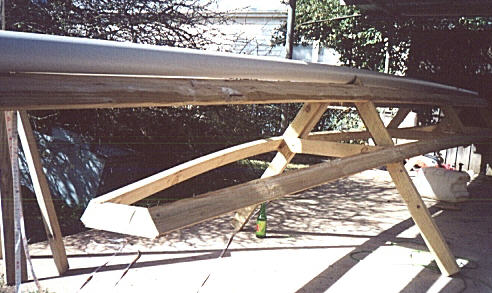
This next photo shows the baseframe and we have put the legs on now the legs were an after thought after we built the first half and they were one of the first things we put on the second half
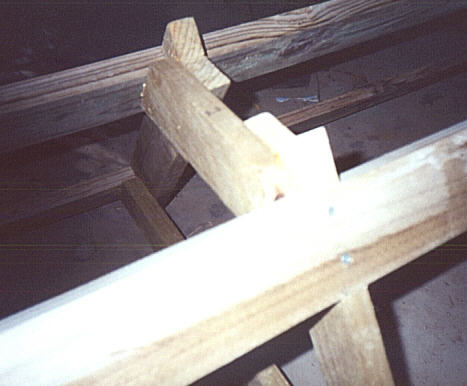
Here is a top down view of the main joints we used on the slider its not a great shot but it should give you an idea, (there will be detailed diagrams soon)
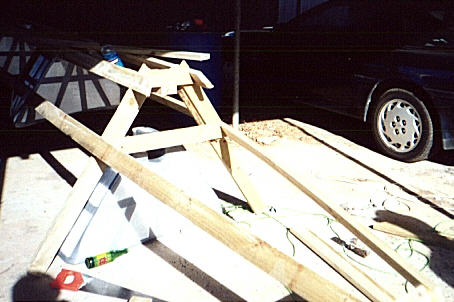
We cut the two bottom lengths of wood and joined them in the middle to make a base for the PVC
Then cut the top two just after the joint so they dont stick out when the PVC is bent
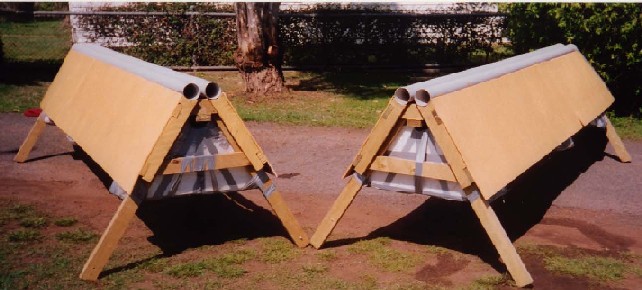
You are going to need something to make it float arent you and we used polystyrene blocks (throw aways from a council work site) we cut them into shape with a hand saw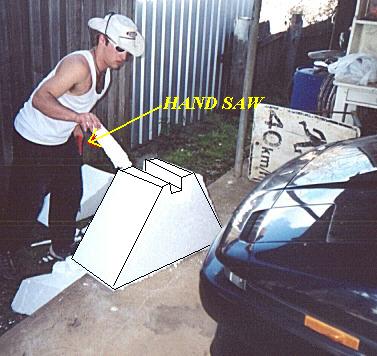
We made them fit snuggly under the frame, After they were cut we wrapped the blocks in heaps of industrial cling wrap to keep them from breaking up and sealed it with duct tape(sorry no photo yet)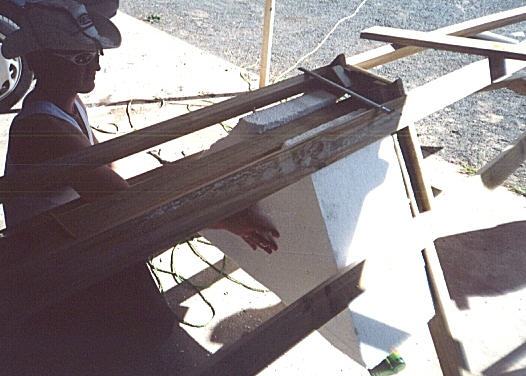
A lot of people ask the question 'how do you fix the PVC to the slider?' we what we did was slide a length of wood into the pvc and screwed straight down through the top of the PVC, the wood and the bottom of the PVC into the frame here you can see us cutting the PVC and the wood to the right length before the join.
And here is how we drilled through it we first lined up the drill with the cross beams under the PVC and drilled a hole into the PVC and marked the wood with the drill. then slid the wood out and drilled half way down through the wood, put the wood back in and using an extention screw bit screwed right down into the cross beams!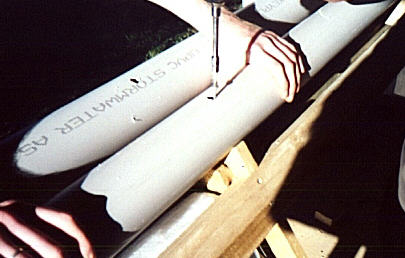
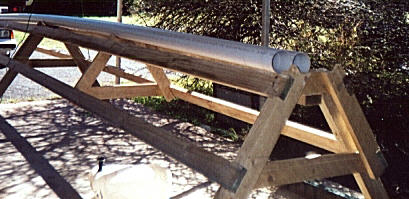
After the top PVC is mounted we added the joint and did the same as above with the angled piece of PVC, so here is the pipe fully fixed onto the frame.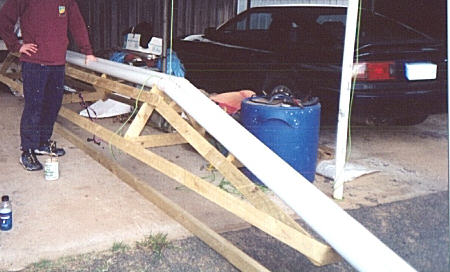
The joint has a little bit of a bumpy surface and it doesnt really even matter but we like to be sure so a bit of sanding had to take place and then a few layers of pvc glue over the top to make it nice and smooth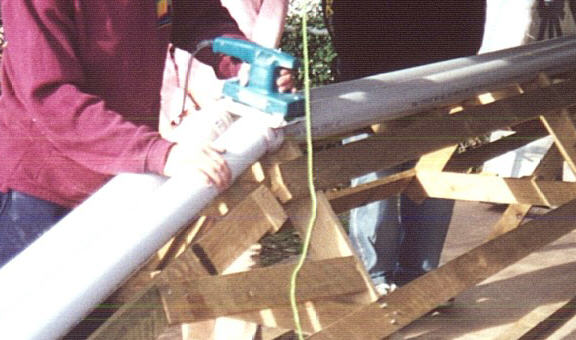
You are going to need some sort of protection so you dont get all hung up on the frame so a sheet of 4 x 8 ft plywood cut in half does the trick we needed two for each half.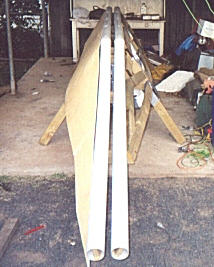
You might have been thinging 'if we drill holes in the top of the PVC wont it be a trap for our boards??' yes so all you have to do is fill the hole with some liquid nails or putty let that dry and cover it with PVC glue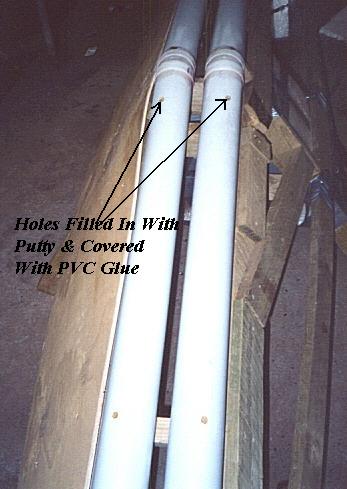
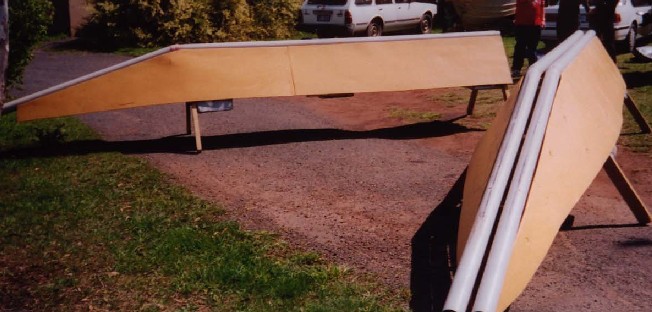
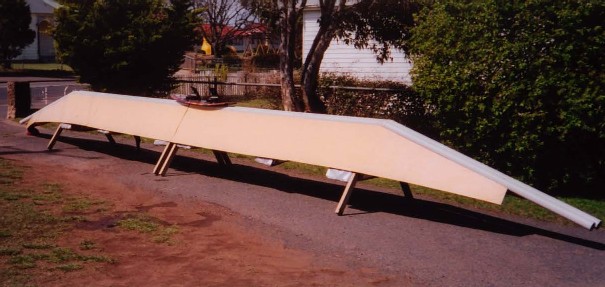
This is what half of it looks like the other half is behind that tree
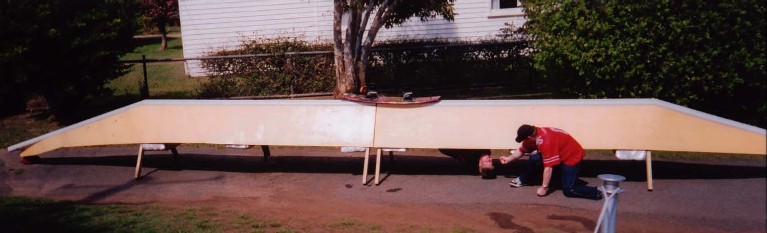
This is the two halfs
All together now!
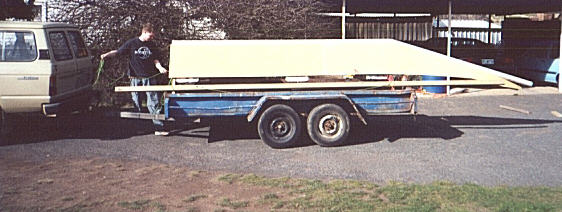
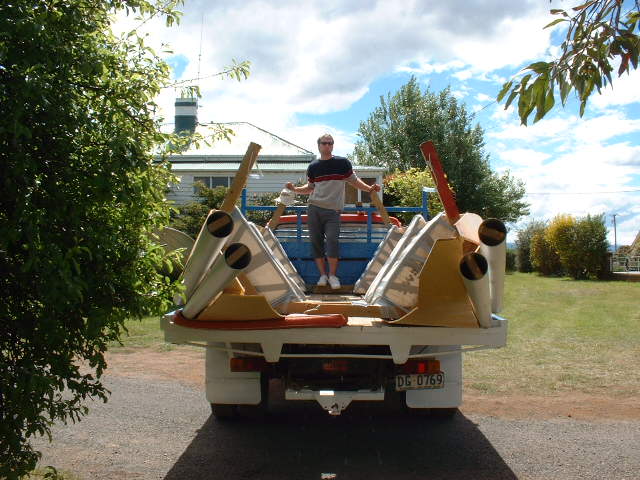
And on the truck ready to be taken to the water

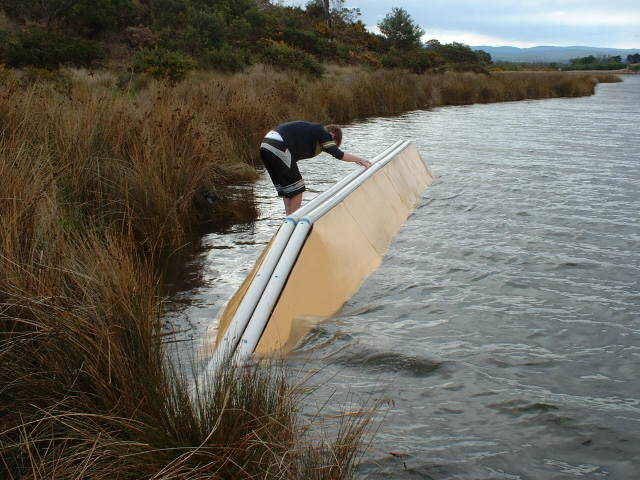
How did we get it to our boarding spot ? just towed it along!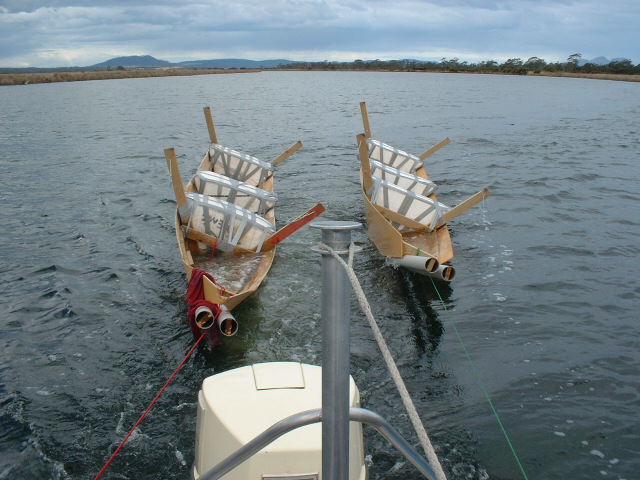
What do ya know it floats!
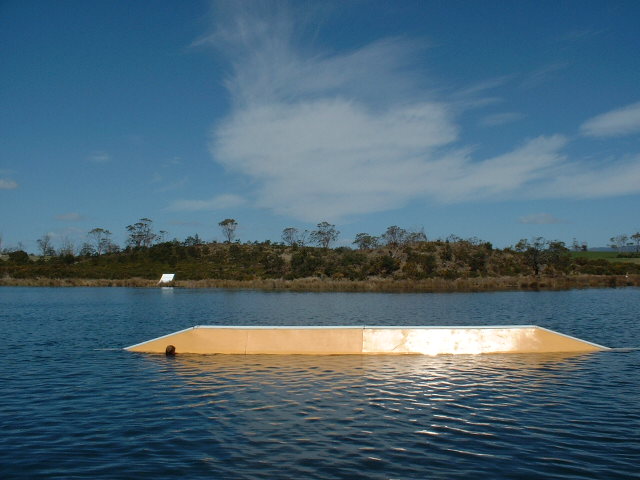
AND THIS IS THE FINISHED PRODUCT
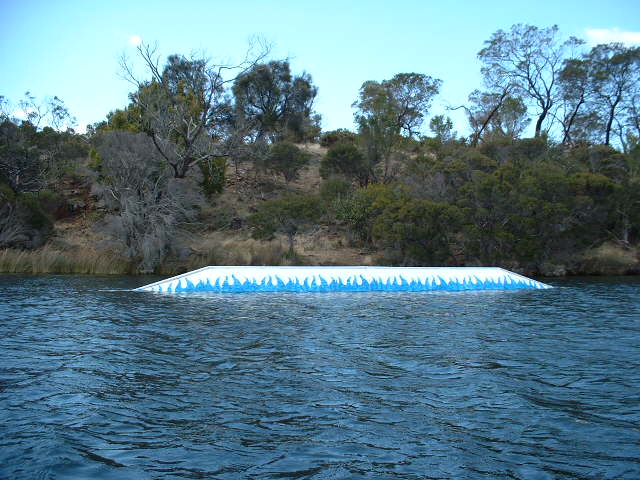
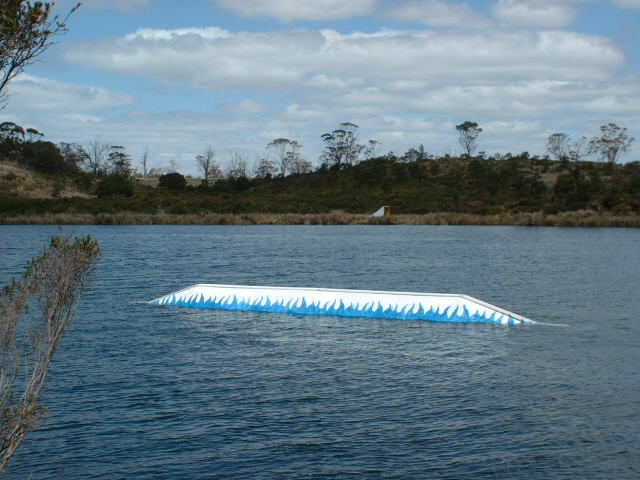
Not bad eh!